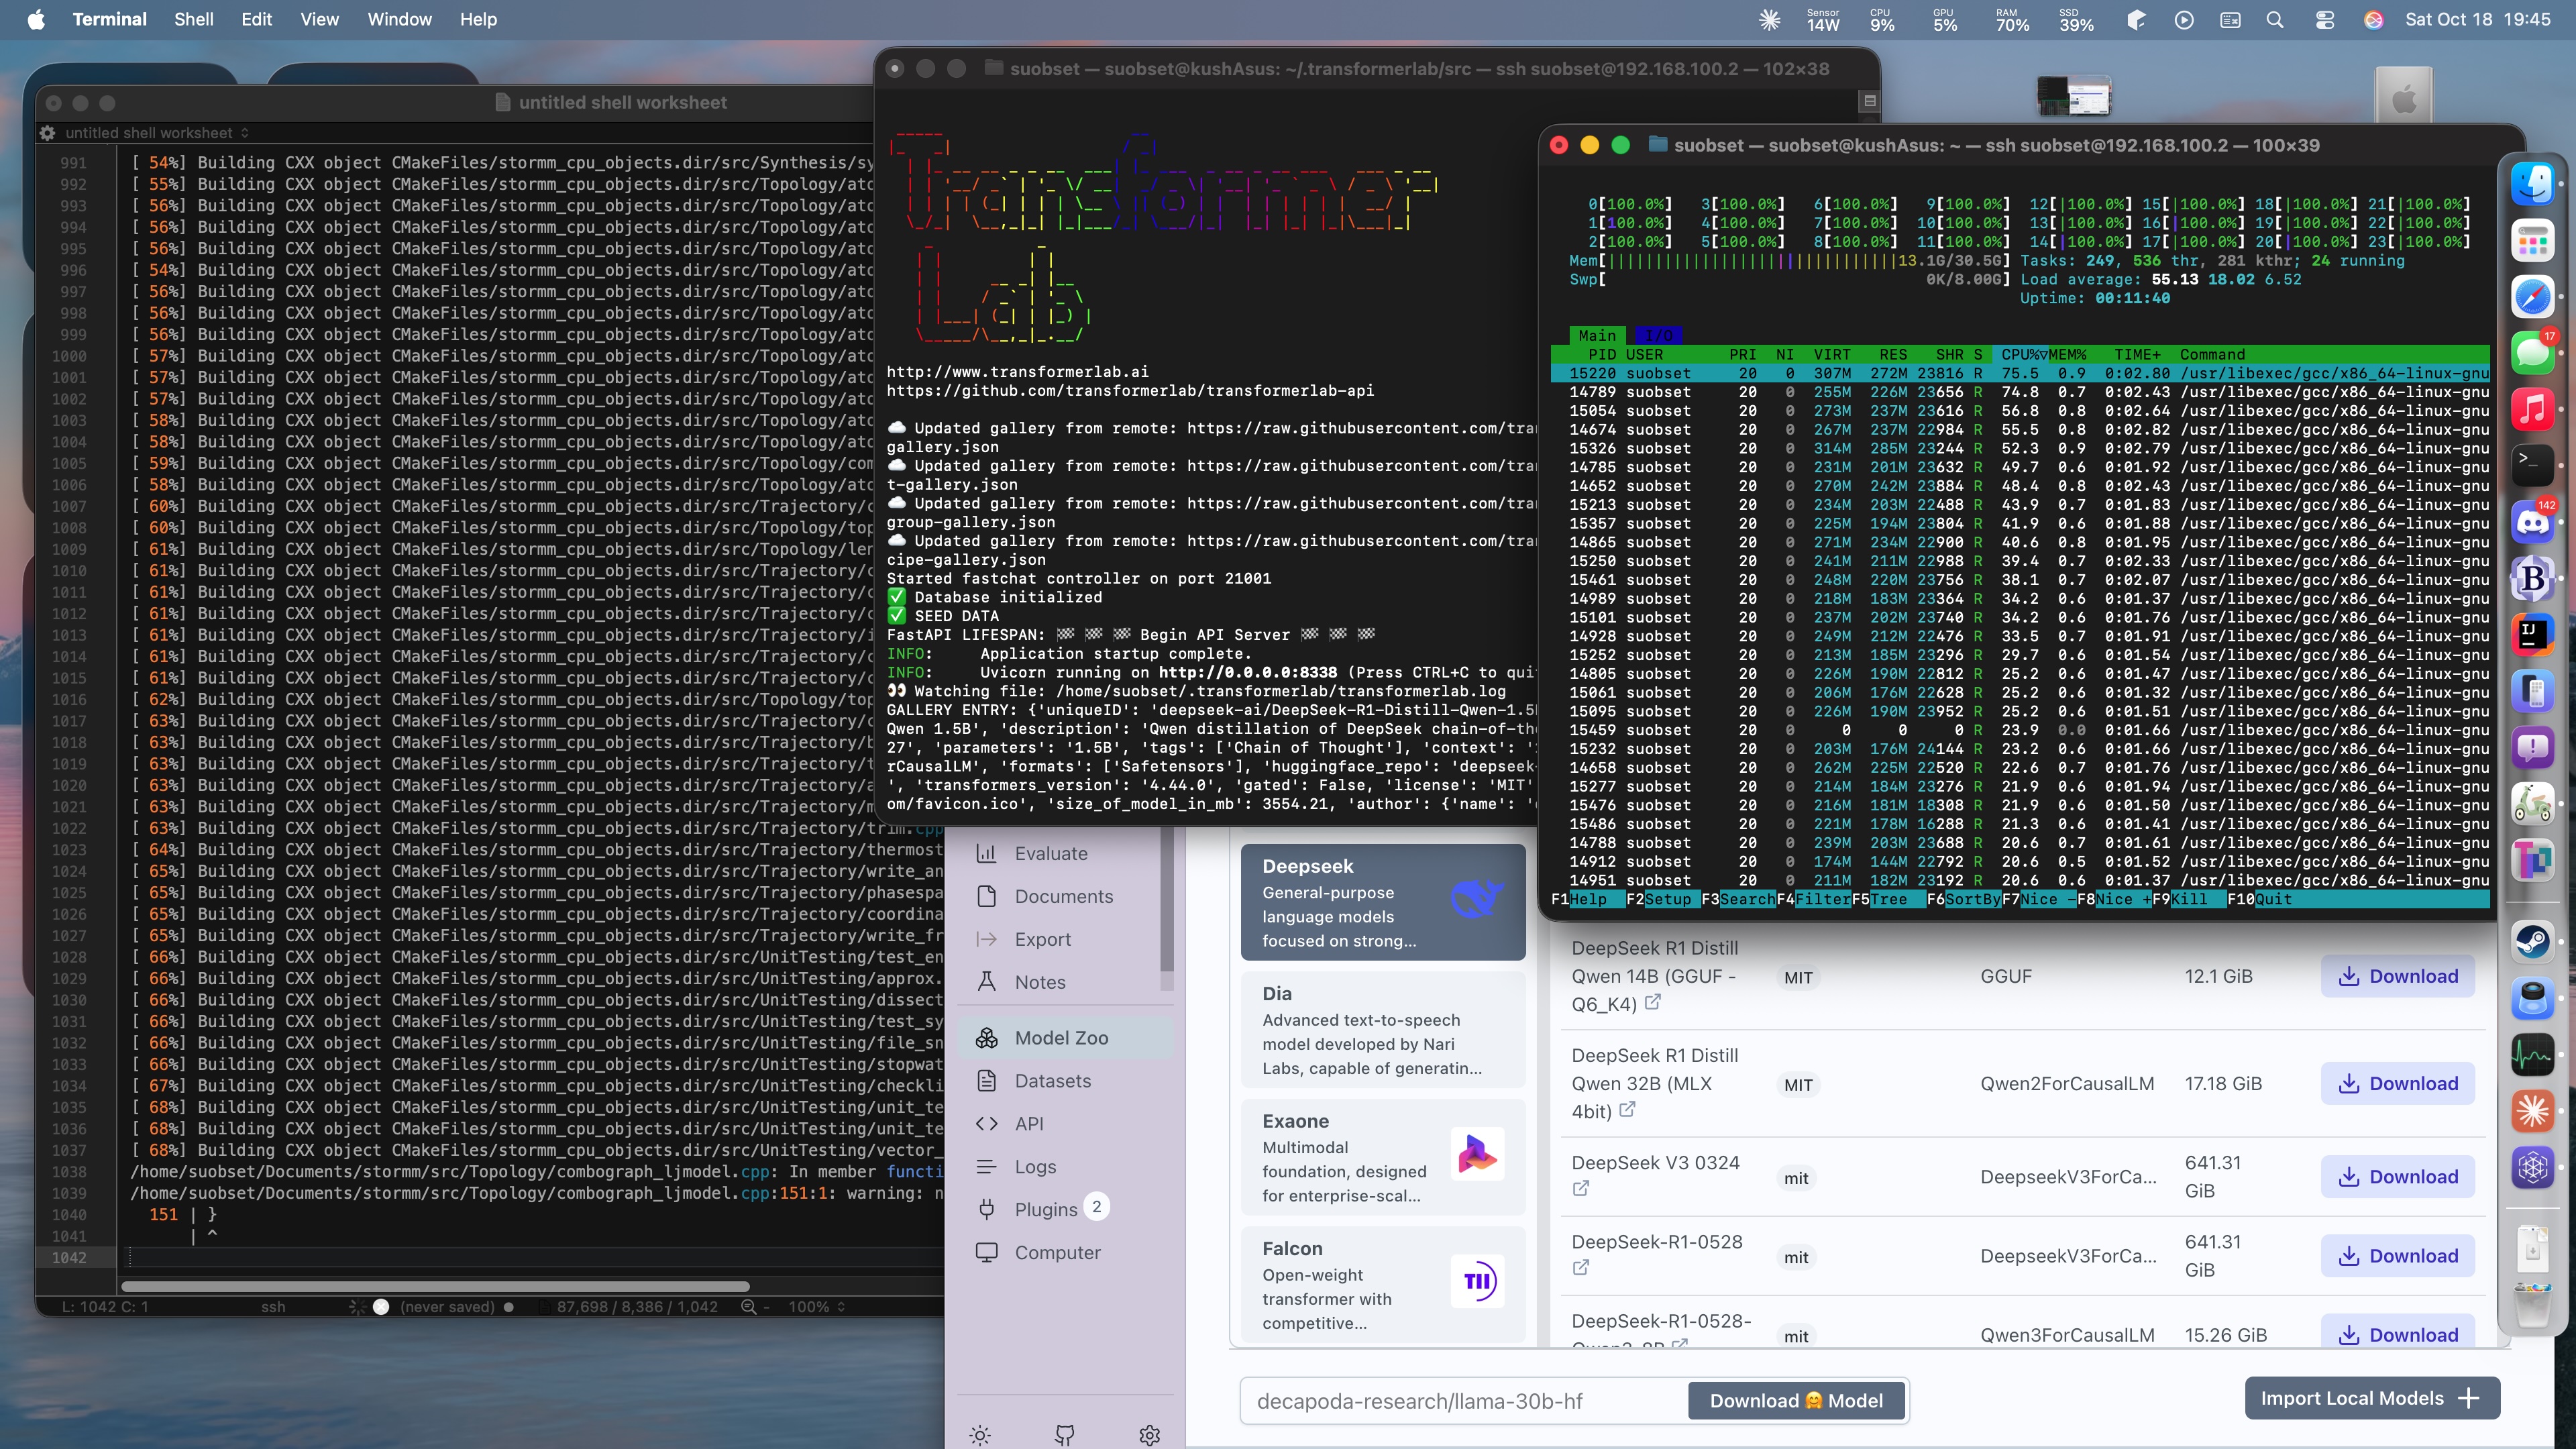
Transformer Lab Server and STORMM Compilation all running on the CUDA laptop, with the Mac as a frontend (Terminal, TL frontend, and BBEdit). The two computers connect across a LAN using 1 direct Ethernet cable, and SSH.
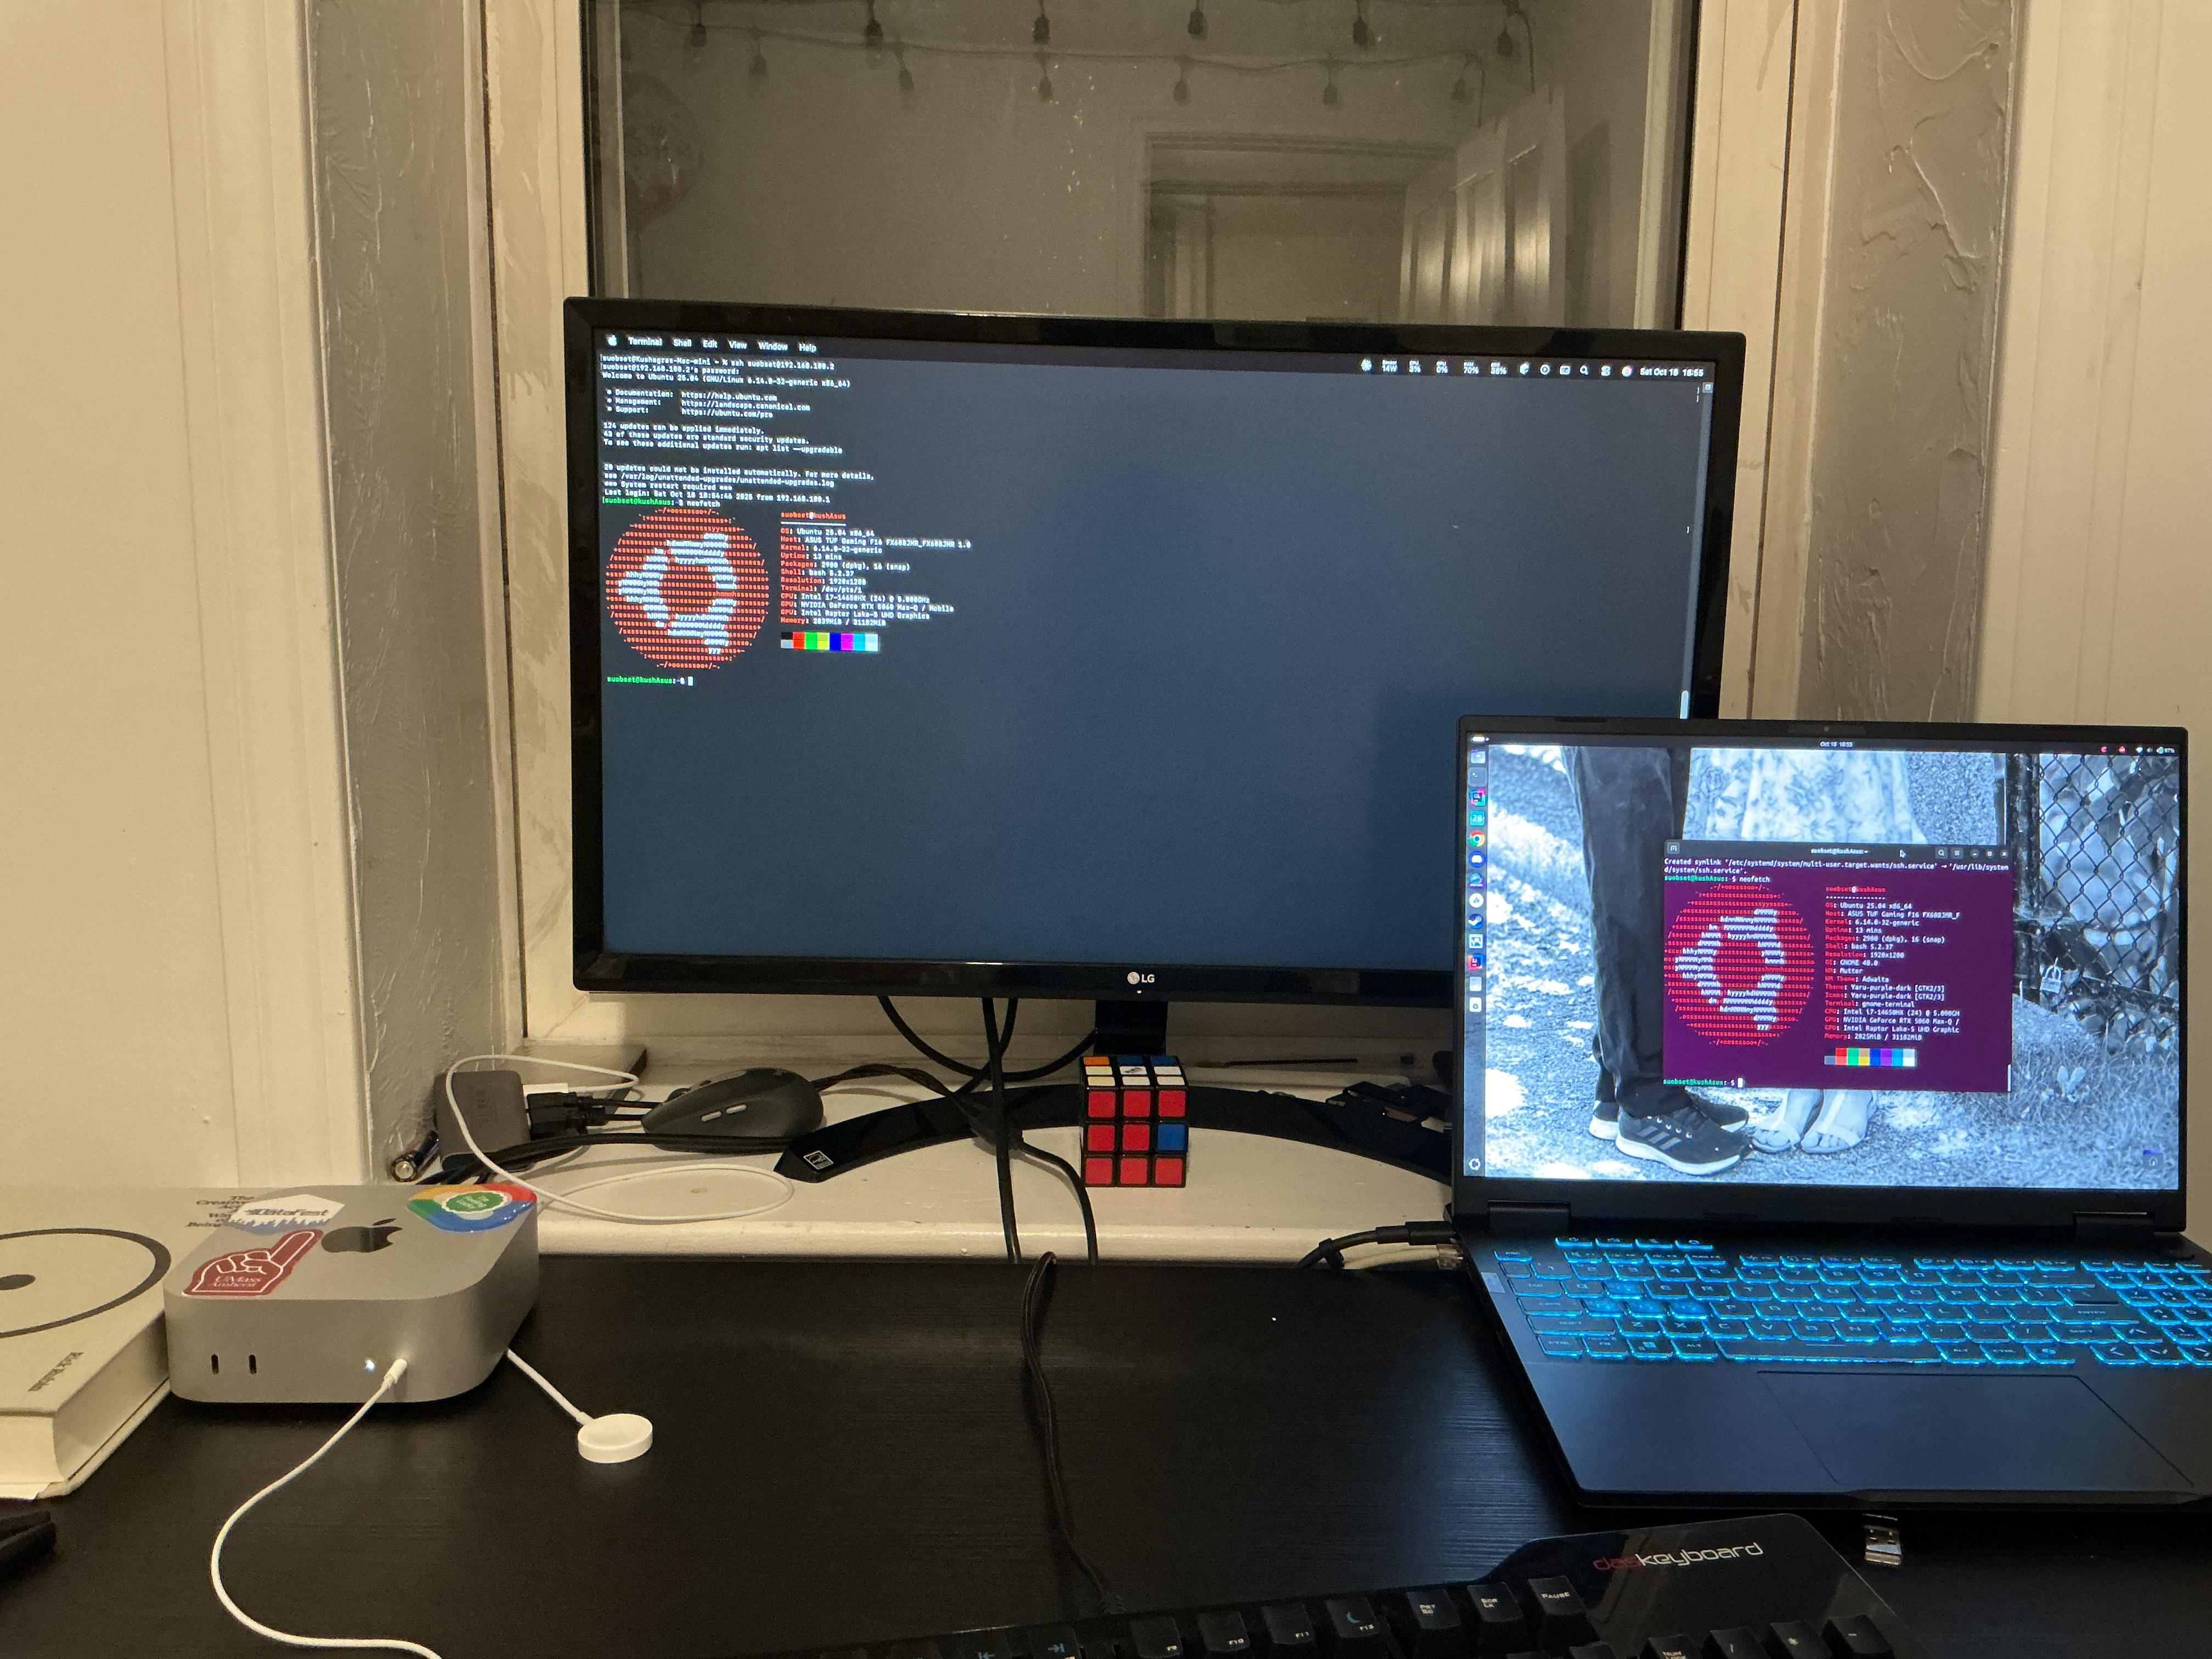
Quick guide for setting up a direct Ethernet link between my Mac mini and Asus gaming laptop so I can SSH into the Asus from the Mac. Both machines stay connected to WiFi for internet, but are connected to each other via a direct Ethernet cable,
This is a fairly straightforward method to set up a local SSH server (Asus, in this case), and a client (Mac). It’s mores here for my own personal referral in the future, and skips over a lot of security measures you would take to set up a SSH machine out on the open Internet.
Why?
When I’m working remotely and RDP and/or SSH into the Mac mini, I can then SSH from there into my Asus without needing to lug the heavy laptop around. Also since all of the Nvidia work I do is via a CLI, a KVM switch for the desk and/or setting up 2 RDPs is overkill. Lastly, I love BBEdit and its Shell Worksheets, and want to retain that workflow for my Linux needs too.
The Mac has Parsec set up for Remote Access when I am away from my desk. This allows me to access even my GPU machine through the same channels.
Lastly, the main reason to even do all of this in the first place is to be able to train local AI models (LLMs) using Transformer Lab Server on the 5060, as well as contribute to STORMM and do all funky sorts of GPU & AI programming, all while keeping only one point of entry to manage everything logistically: the Mac.
Pretty neat!
Setup
On the Asus (Ubuntu)
1. Find your Ethernet interface name:
`ip link show`
Output looks like this:
`1: lo: <LOOPBACK,UP,LOWER_UP> mtu 65536 qdisc noqueue state UNKNOWN mode DEFAULT group default qlen 1000
    link/loopback 00:00:00:00:00:00 brd 00:00:00:00:00:00
2: enp109s0: <BROADCAST,MULTICAST,UP,LOWER_UP> mtu 1500 qdisc fq_codel state UP mode DEFAULT group default qlen 1000
    link/ether bc:fc:e7:e4:2c:d2 brd ff:ff:ff:ff:ff:ff
    altname enxbcfce7e42cd2
4: wlp108s0: <BROADCAST,MULTICAST,UP,LOWER_UP> mtu 1500 qdisc noqueue state UP mode DORMANT group default qlen 1000
    link/ether 4c:23:38:59:4f:4b brd ff:ff:ff:ff:ff:ff
    altname wlx4c2338594f4b`
Look for the interface that’s NOT lo (loopback) and NOT the WiFi one (usually starts with wl). Mine is enp109s0 - that’s the Ethernet port. Yours might be different like eth0, eno1, etc.
2. Edit the netplan config:
`sudo vim /etc/netplan/01-network-manager-all.yaml`
3. Add this at the end (replace enp109s0 with your interface name):
`network:
  version: 2
  ethernets:
    enp109s0: # Make sure this is your ethernet interface
      addresses:
        - 192.168.100.2/24 # Arbitrary as long as in private IP range
      dhcp4: no`
Leave everything else in the file as-is. Your WiFi config stays untouched.
4. Apply the changes:
`sudo netplan apply`
5. Verify it worked:
`ip addr show enp109s0`
You should see output like this:
`2: enp109s0: <BROADCAST,MULTICAST,UP,LOWER_UP> mtu 1500 qdisc fq_codel state UP group default qlen 1000
    link/ether bc:fc:e7:e4:2c:d2 brd ff:ff:ff:ff:ff:ff
    altname enxbcfce7e42cd2
    inet 192.168.100.2/24 brd 192.168.100.255 scope global noprefixroute enp109s0
       valid_lft forever preferred_lft forever
    inet6 fe80::befc:e7ff:fee4:2cd2/64 scope link proto kernel_ll
       valid_lft forever preferred_lft forever`
The key line is inet 192.168.100.2/24 - that’s your static IP address on the Ethernet interface.

6. Install and enable SSH server:
`sudo apt update
sudo apt install openssh-server
sudo systemctl start ssh
sudo systemctl enable ssh`
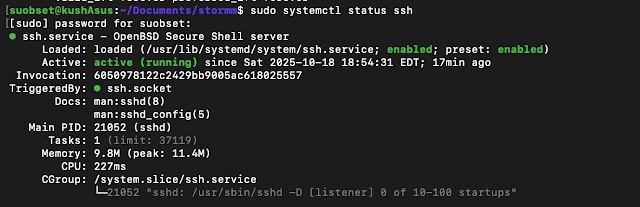
7. Check it’s running:
`sudo systemctl status ssh`
Should see something like:
`● ssh.service - OpenBSD Secure Shell server
     Loaded: loaded (/lib/systemd/system/ssh.service; enabled; vendor preset: enabled)
     Active: active (running) since ...`
Look for “active (running)” in green - that means SSH is up and ready.
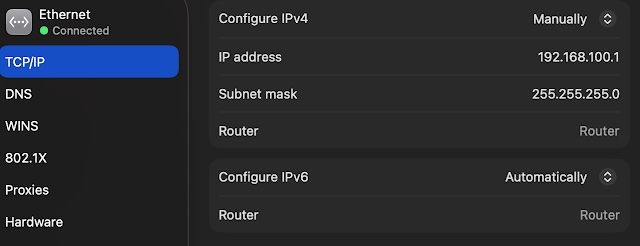
On the Mac mini
Open System Settings → Network
Click on your Ethernet adapter
Click Details
Under TCP/IP tab:
Configure IPv4: Manually
IP Address:
192.168.100.1Subnet Mask:
255.255.255.0Router: leave blank
DNS: leave blank
Click OK, then **Apply **[Footnote 1 for settings]

Test it
From the Mac mini:
`ping 192.168.100.2`
Should get responses like:

Then try SSH:
`ssh suobset@192.168.100.2`
First time you’ll get a prompt about authenticity of the host - type yes. Then enter your password and you’re in!
Should work! Both machines still use WiFi for internet, the Ethernet is just for the direct link.
Reversing/Removing the Setup
On the Asus
1. Edit the netplan file again:
`sudo nano /etc/netplan/01-network-manager-all.yaml`
2. Remove the entire ethernets section you added (the enp109s0 block) (also in my case, this is the only block, so can just remove it entirely)
3. Apply:
`sudo netplan apply`
4. If you want to disable SSH server:
`sudo systemctl stop ssh
sudo systemctl disable ssh`
On the Mac mini
- Go to System Settings → Network
- Select the Ethernet adapter
- Click Details
- Change Configure IPv4 back to Using DHCP
- Click OK and Apply
That’s it - everything should be back to normal!
Notes
- The IP addresses (192.168.100.1 and .2) are arbitrary - you can pick any private IP range that doesn’t conflict with your WiFi network. Just make sure both devices are on the same subnet.
- You might not need a crossover cable - most modern Ethernet ports auto-detect (Auto-MDIX). Regular cable works fine for me.
- If SSH keeps refusing connections, check the firewall:
sudo ufw statusand allow port 22 if needed:sudo ufw allow 22/tcp - When you SSH in, all your internet traffic (apt updates, downloads, etc.) goes through WiFi automatically. The Ethernet is just for the Mac ↔ Asus connection
Footnotes